
Podcast: Play in new window | Download
A bit of a hybrid episode, focusing mostly on how to make a pie crust, plus a little about quiche. There’s a lot of misinformation in pie crust tips and recipes — this episode covers all I’ve learned in three decades.
NOT-shopping list
- All-purpose flour (or pastry flour, if you’re fancy; preferably not bread flour; definitely not cake flour)
- Butter
- Leaf lard (only if you happen to have access to it; I personally don’t approve of Crisco, but that’s an alternative, if you want really flaky crust)
- Eggs
- Milk / cream / half-and-half / sour cream / creme fraiche (some combination of these so that you have a mix that’s roughly as fatty as a combo of half milk, half cream)
- Miscellaneous fillings (your fridge leftovers!), including cooked vegetables, herbs and possibly cheeses
Basic Pie Crust
The recipe is so simple I’ll mention it first:
For 1 crust for a 9-inch pie plate
1 cup all-purpose flour, plus a few more tablespoons for adjusting
1/2 cup butter (1 stick) or a combination of butter and leaf lard, no more than half leaf lard
1/4 cup ice water
Pinch salt, if your butter is unsalted
See the nifty pattern there? Very easy to remember. Now…all the magic is in the technique, which I go into in more detail in the podcast. Here is the short version, and a few photos. At all times, keep the butter/lard as cold as possible, and keep your kitchen cool. If you feel your fingers getting greasy at all, stop and put the whole bowl in the fridge for about 10 minutes.
Measure the flour (and optional salt) into a large bowl. Set aside some flour for use later, when you’re rolling out the dough.
Cut the butter into small cubes.
Toss the butter and the flour together, then pick up each piece of butter and quickly squish it flat between your thumb and fingers. (Use both hands to make it go faster.)
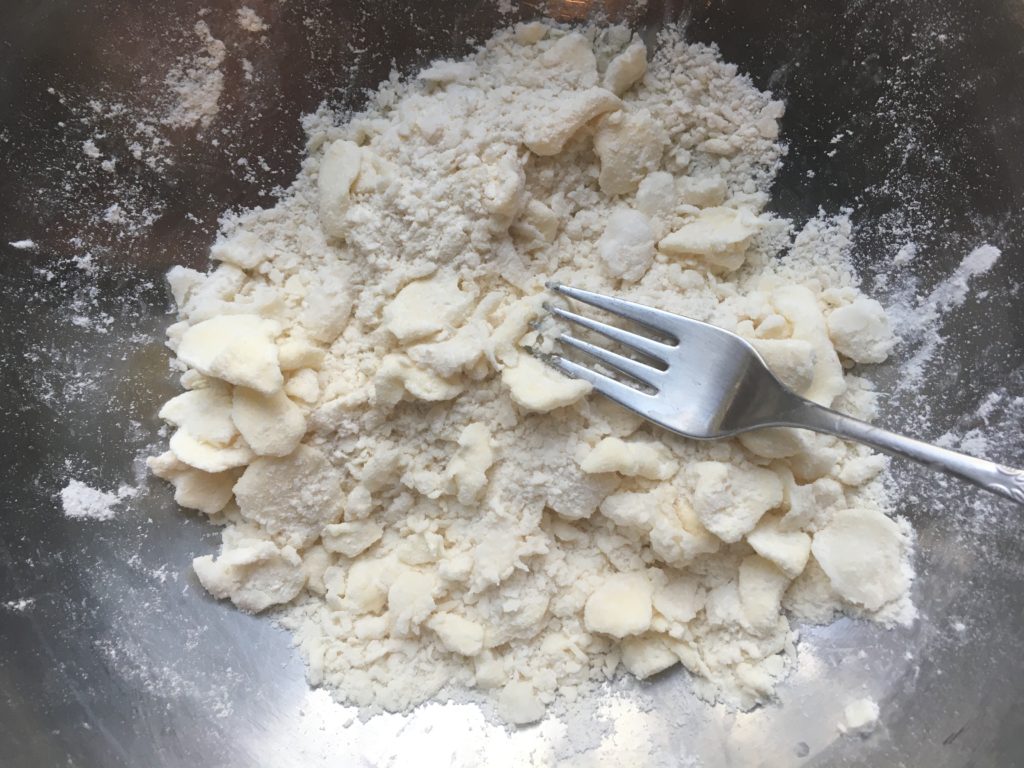
When all the butter has been squished, wash your hands. Possibly put the butter-flour mix back to chill, if it felt like the butter was getting too soft.
Slowly drizzle in about half the cold water and stir the mixture with a fork to distribute the water.
Drizzle in more water, very gradually, and stir gently. The mixture will start to clump together. You will need to assess whether the dough is fine as is, or if it needs all the measured water (most common). The dough should look fairly moist, but it should not be sticky (a sign you added a bit too much water). If you’re baking in a dry climate, or depending on your flour, you may even need a smidge more water than 1/4 cup, but this is rare.
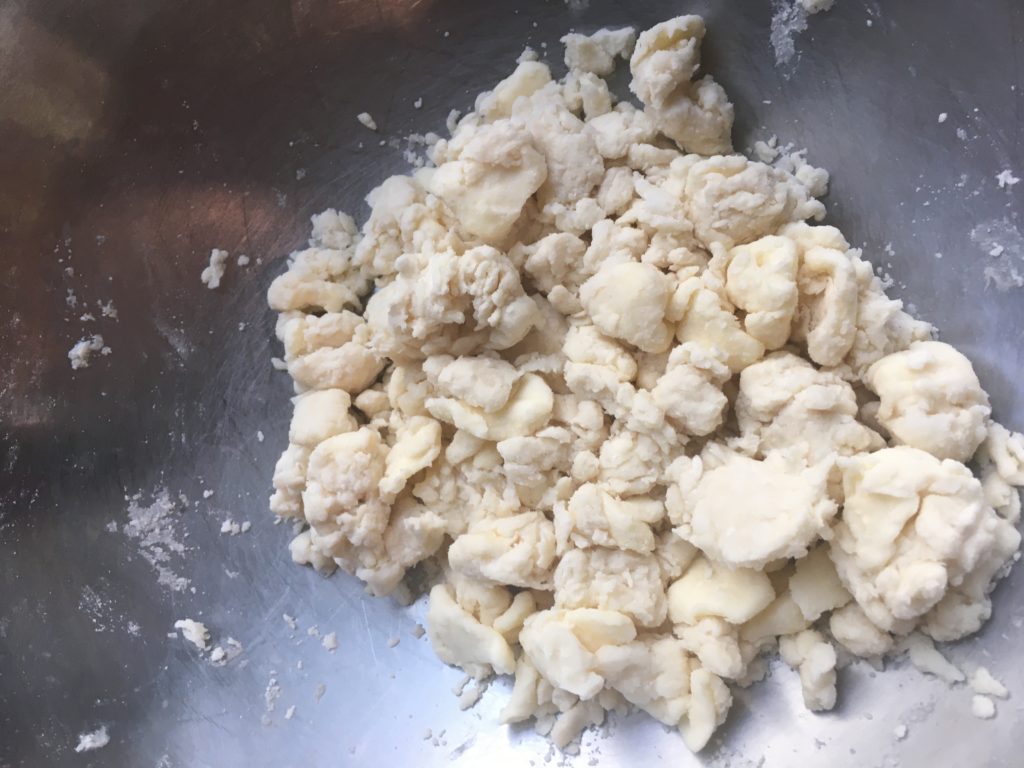
Gently scoop the dough together and press it into a ball — does it hold? Don’t try to force it much, or your hands will warm the butter. If it’s too dry, it will fall back in pieces in the bowl, and you’ll need to add a tiny bit more water — really, a teaspoon at a time. If in doubt, chill again.
Once you have a dough that holds together in a ball, cover it with a plastic bag or a bowl and stick it in the refrigerator again. You can hold it like this for hours, if you want. Half an hour is usually enough. (Take this time to get your quiche filling together.)
I don’t have photos for rolling out, but it’s described fairly well in the podcast. Key tips are to knock the ball flat with your rolling pin first, before you actively start rolling. You’ll also want to press together the cracking edges a bit.
Roll evenly up and back on a floured surface. After one up-and-back, rotate the dough a quarter-turn or so. If it sticks, dust a little more flour under it (and don’t forget some on the rolling pin too!).
You can measure by setting your pie plate in the center — you want a couple of inches all the way around. But you don’t want the crust much more than 1/8-inch thick.
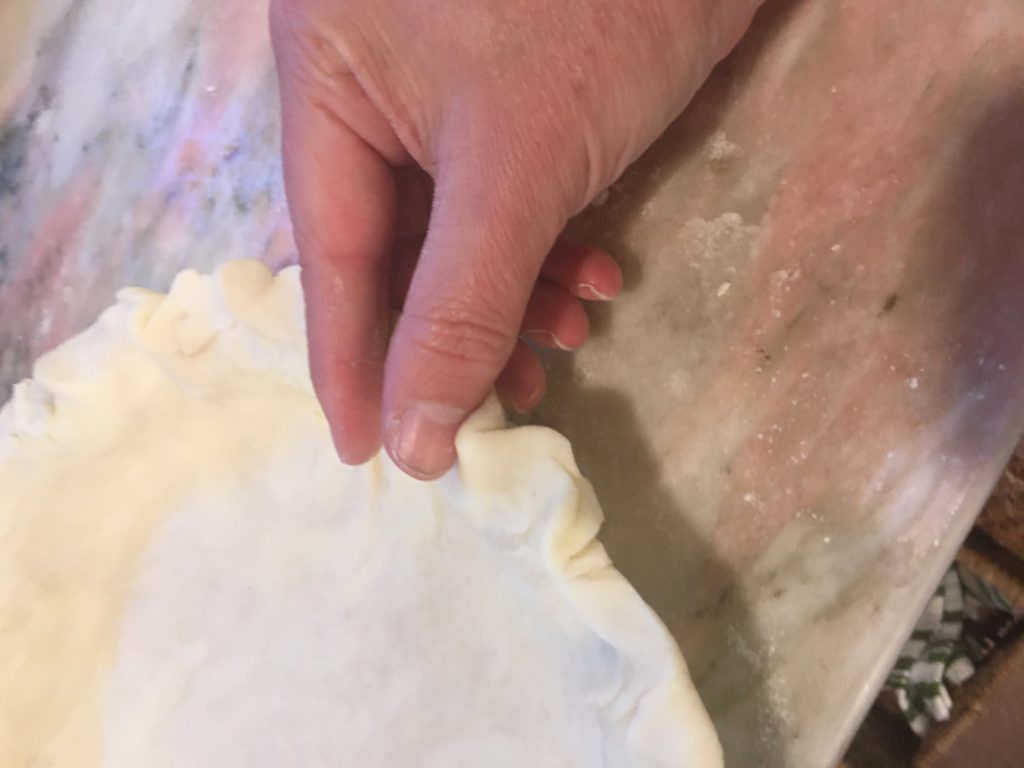
To get the crust into the plate, fold it in half gently, then (optionally) in half again. Lay it in the plate, centered, and unfold gently.
Then comes the shaping. I usually do a fluted edge, pictured here. You can also fold the crust under all around and lightly press it with a fork.
When this is all done, put the pie crust back in the refrigerator to chill. Uncovered is fine, if you’re baking soon. Otherwise, cover it with a plastic produce bag so it doesn’t dry out.
I’m not a big fan of pre-baking (blind baking), as I say in the podcast, but it’s possible. If you do, you want to set parchment paper inside the crust and fill it with dried beans, to keep the bottom from bubbling up.
(TBH, I always have trouble with my edges slumping down into the plate, which is part of the reason I rarely mess with pre-baking!)
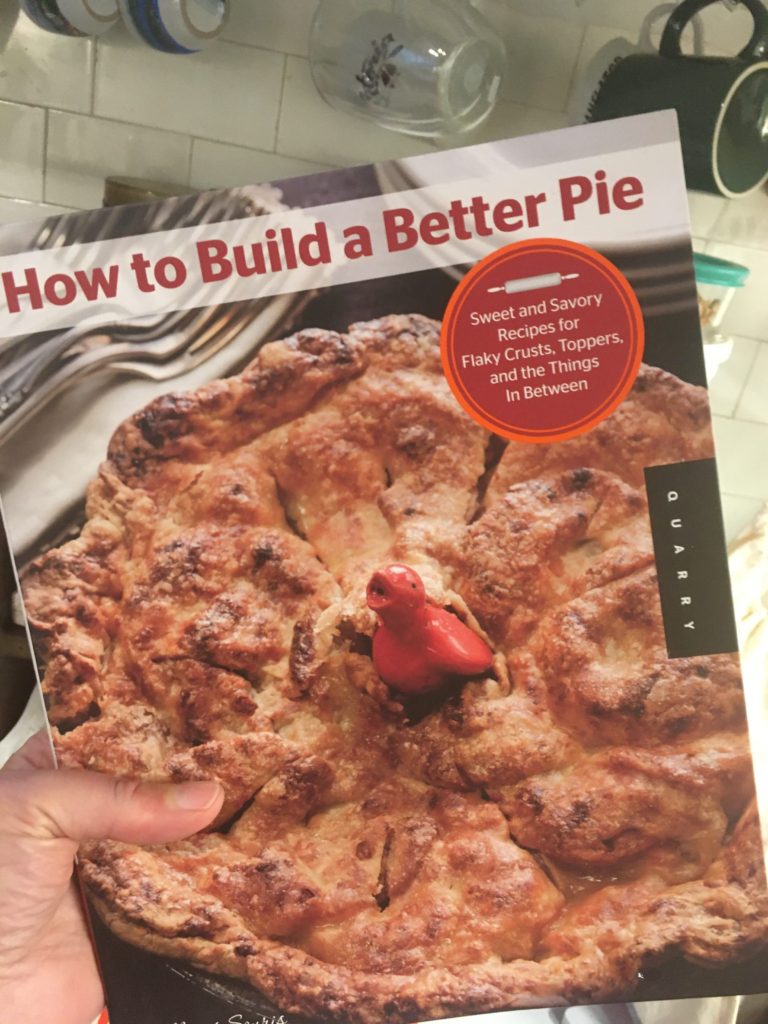
Finally, let me give a shoutout to the book I mention in the podcast, How to Build a Better Pie, by Millicent Souris. Having eaten many of Millicent’s pies back when she cooked at Queen’s Hideaway, I can vouch for Millicent’s talents and knowledge, and the detailed photos and real talk in the book are ideal for a beginner to see every single step in making a pie crust.
The finished pies are also refreshingly homemade-style, and not all Insta-perfect. The catch: it may be out of print, as it is not available through my usual affiliate, but a quick search reveals copies for sale!
Basic Quiche Recipe
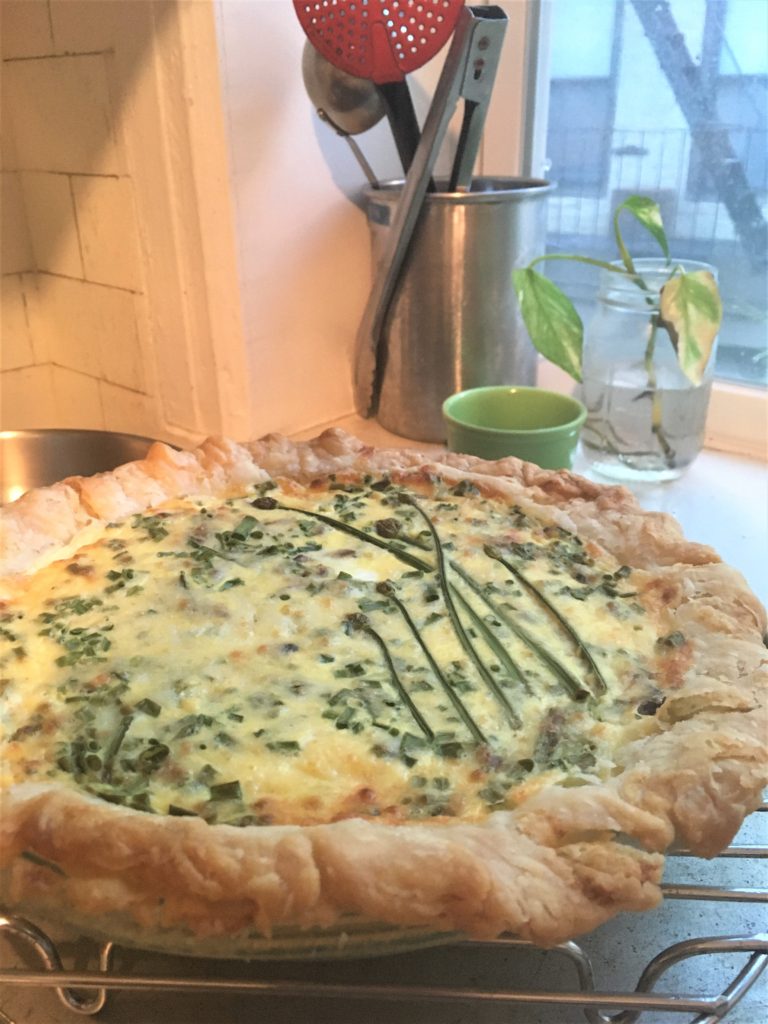
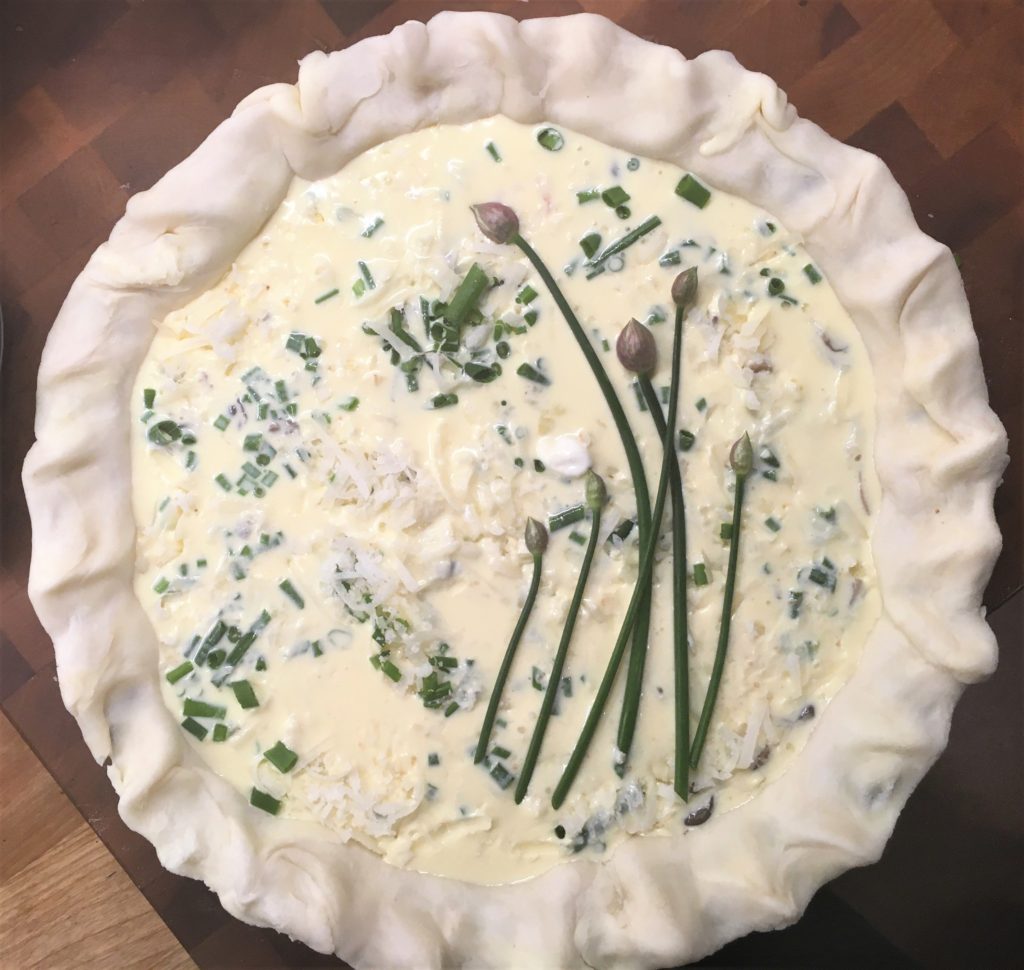
I consider quiche a semi-fancy way to use up little bits of vegetables and things in my refrigerator. Some of the best combinations have been one-offs that I never seem to be able to recreate. I give amounts of vegetables, etc, by weight below, but it may be easier just to think in terms of large and small handfuls. For a standard 9-inch pie plate, you need less filling than you think! In the podcast, I used oyster mushrooms, chives and a little manchego cheese.
For one standard 9-inch pie crust, unbaked
3 eggs
1.5 cups half-and-half (or milk and whole cream, or milk and sour cream, or whatever you have to fatten up whole milk)
Salt and pepper
Your choice of fillings, including some or all (by weight):
4 oz. cooked vegetable filling, chopped in small pieces (asparagus, broccoli, mushrooms, etc) or thin strips (greens like kale or spinach)
2 oz. caramelized onions (well cooked, otherwise they can water down the custard)
2-4 oz. cooked bacon or cubes of ham
2-4 oz. grated cheese
Small handful fresh herbs or chives
Grated nutmeg (optional: nice with some flavor combos, such as spinach and bacon)
After your pie crust is prepared and chilling, preheat the oven to 450. (If you’re using a baked pie crust, set oven to 375.)
Whisk the eggs and milk/cream together until the eggs are well incorporated. Add a bit of salt and pepper (less salt if using salty cheese, more salt if using no cheese).
Layer the fillings in the crust (add some herbs in the bottom first, to be held down by the other fillings, so they don’t all float to the top), grate in about half the cheese, and then give the egg mixture a good stir and pour it over. Scatter the remaining cheese on top, and grate on nutmeg (if using).
Bake at 450 for 10 minutes (this is to bake the bottom crust a bit), then turn the heat down to 375 and bake until done, another 30 minutes or so. A knife inserted midway between the center and the crust will come out clean. The center will still be a tiny bit soft, but it will set up as it cools. Give it a good hour to cool.
If you don’t finish this in a single meal, you can leave it out, covered (I just put a big bowl over the whole dish), overnight, if the weather isn’t hot. I usually wind up eating the rest by lunchtime. You can reheat slices in a skillet on low heat — which will also crisp up the bottom crust.